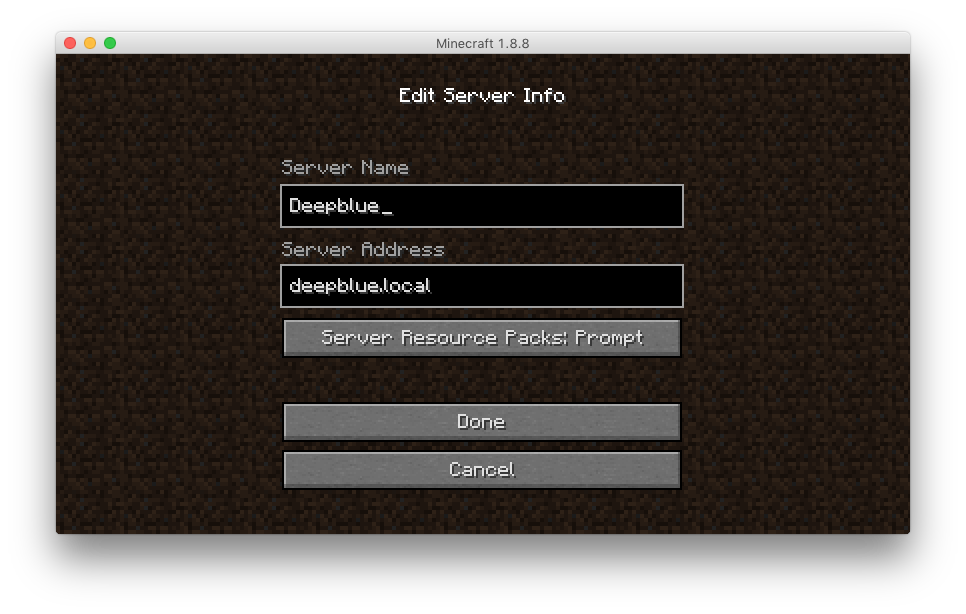
Since I have a local server already running, I’ve set it up to run Minecraft so I can play (usually with my nephew) at home and not worry about keeping the world on my laptop or another computer.
I’ve designed this instruction set for a modular setup, allowing for one or more instances of a Minecraft server to run on one machine without much duplication.
Step 1. Prerequisites
Since Minecraft requires a Java runtime, you should install one. You can install the one available from the repositories:
apt install default-jre
Or, you can install Oracle Java from a PPA:
add-apt-repository ppa:webupd8team/java
apt update
apt install oracle-java8-installer
Step 2. Setting Up Your Minecraft Server
Create a minecraft user and group
groupadd -r minecraft
useradd -r -g minecraft -d "/var/minecraft" -s "/bin/bash" minecraft
# probably a good idea to give this user a password
passwd minecraft
Create the home directory for said user and assign ownership.
mkdir -p /var/minecraft
chown -R minecraft:minecraft /var/minecraft
Setup Directory Stucture
Next, switch to the newly created minecraft user and enter its home.
su - minecraft
Since I mentioned these instructions are for a modular setup, create a folder for the first Minecraft instance with a minecraft-[descriptor] naming scheme (for example, minecraft-vanilla) and enter it.
mkdir minecraft-vanilla && cd minecraft-vanilla
Download & Run Minecraft
Get the Minecraft server software by running the following (check the website to make sure you have latest version):
wget https://s3.amazonaws.com/Minecraft.Download/versions/1.12/minecraft_server.1.12.jar
Now we’ll do a quick first run of the server, to populate the server directory with any needed files for your server.
java -Xms1024M -Xmx2048M -jar minecraft_server.1.12.jar nogui
You may see a warning saying that you need to accept the terms of the EULA (by editing eula.txt):
nano eula.txt
Accept the terms and start the server again. Terminate the server process (with Ctrl+C) and you can move onto configuring your server.
Step 3. Configuring Your Server
Changing Server Properties
The default server properties configuration file looks something like the following:
# Minecraft server properties
# Timestamp
max-tick-time=60000
generator-settings=
allow-nether=true
force-gamemode=false
# The server gamemode, the default is 0 = survival, 1 = creative, 2 = adventure, 3 = spectator
gamemode=0
enable-query=false
player-idle-timeout=0
difficulty=1
spawn-monsters=true
op-permission-level=4
announce-player-achievements=true
pvp=true
snooper-enabled=true
level-type=DEFAULT
hardcore=false
enable-command-block=false
max-players=20
network-compression-threshold=256
resource-pack-sha1=
max-world-size=29999984
server-port=25565
server-ip=
spawn-npcs=true
allow-flight=false
level-name=world
view-distance=10
resource-pack=
spawn-animals=true
white-list=false
generate-structures=true
online-mode=true
max-build-height=256
level-seed=
use-native-transport=true
# This is your server's name
motd=A Minecraft Server
enable-rcon=false
For a basic vanilla server, the only thing you really need to change to your preference is the motd and the gamemode but the Minecraft wiki has a far more in-depth article for further adjusting this configuration file.
Adding Server Operators (OPs)
Presumably, you’ll want to add yourself as a server operator, for that you’ll need to add yourself to the ops.json file.
nano ops.json
It will be empty (except for 2 square brackets), so you can add the following for each operator (replacing userUUID and username with your own).
[
	{
		"uuid": "userUUID",
		"name": "username",
		"level": 4
	}
]
If you don’t know what your UUID is or how to get it, I’ve a simple page here, that will grab it for you.
Step 4. Setting Up A System Service
First logout of the minecraft user.
logout
To make starting & stopping your Minecraft server a little simpler, we’ll make use of a systemd service template. Open an editor to an empty file:
nano /etc/systemd/system/[email protected]
And enter the following:
[Unit]
Description=Minecraft Server

[Service]
WorkingDirectory=/var/minecraft/minecraft-%i
User=minecraft

ExecStart=/usr/bin/java -Xms1024M -Xmx2048M -jar /var/minecraft/minecraft-%i/minecraft_server.1.12.jar nogui
ExecReload=/bin/kill -HUP $MAINPID; /usr/bin/java -Xms1024M -Xmx2048M -jar /var/minecraft/minecraft-%i/minecraft_server.1.12.jar nogui
ExecStop=/bin/kill -HUP $MAINPID

RestartSec=10s
Restart=always

[Install]
WantedBy=multi-user.target
The @ in this template name means you can start/stop a service for each Minecraft instance you’ve created with a give descriptor (for example vanilla) and the %i within this service will read said descriptor.
- When writing/modifying this service file,
-Xms1024Mand-Xmx2048Mis the amount of RAM (initial and maximum, respectively) you’d like to assign to Minecraft in megabytes. - Be sure to put the current version of Minecraft you have in place of
minecraft_server.1.12.jar, if this is out of date.
Now you can enable & start the newly created service to run your server, for the example minecraft-vanilla:
# enable the service
systemctl enable [email protected]
# start the service
systemctl start [email protected]
Multiple Servers
Each directory with a minecraft-* name in your server home can be recognized by the above service. For instance, if there were a minecraft-adventure folder, you could enable/start the systemd service for that with:
# enable
systemctl enable [email protected]
# start
systemctl start [email protected]
Basically, to run multiple servers simply create a new folder structure, repeat the steps to setup and configure the server, and enable/start it.
Connecting
You may or may not see your server appear when “scanning for games on your local network”, this may be due to a variety of things –from routers to firewall issues. The sure-fire way is to add it or connect directly, especially if you know the server’s hostname or IP address.
